Wednesday, September 14, 2011

Shooting with Slow Shutter Speeds

One can get some interesting images when using a slow shutter speed. Below are two images I made of myself.  I put my camera on a tripod and used my camera’s self timer feature.  I set my camera to shutter priority mode and experimented with different exposures. Some of my exposures were several seconds long! 


In this image I set my camera up inside a house on a tripod looking out through a window. I then set the self timer for 10 seconds ...ran outside ...waited for the self timer to activate ...and then ran!


This was not created in Photoshop! I achieved this ghosted appearance by moving around rapidly and then staying in the above position for a slightly longer time.

Sunday, September 11, 2011

Photographing Reflections

I find reflections fascinating! Once you start looking you will see them everywhere!  Reflections can provide a mirror image or something quite abstract.  It all depends on the condition of the surface you are photographing.    


Below are a few interesting examples

Here is a unusual portrait of a man staring into a pool of water. His hands are clasped together, just beneath the surface of the water, as if he is praying.


This is an image I made of a reflection, that grabbed my attention, on a New York City store window.  I saw this as a good representation of the city as it portrays the high fashion, the cultural entertainment (If you look closely you will see sheet music from the store window overlaying the reflection of the building across the street) and of course, the "hustle and bustle " of the city with it's never ending traffic!


An abstract image of the Empire State Building


Wednesday, September 7, 2011

Images From Above!

Unfortunately, I am one of those "white knuckle" flyers!  I know it's silly and that the drive to the airport is more dangerous than my time in the airplane ...but as soon as that door closes on the aircraft I get very anxious. The only thing that really helps me (besides drugs and alcohol!) is focusing on the view out of the window and photographing it!  I like to focus on the beauty off the clouds and the patterns in the landscape.  I find I can get lost in that beauty and almost forget that I'm viewing those images from 30,000 feet up in the sky! Below are a few images I made on a flight over the Midwest of America!


Landing in Miami!

Sunday, September 4, 2011

Portrait Retouching to the Extreme!

When clients ask me to photograph them I always offer them the choice of a natural or a retouched portrait. I believe that the fact that fashion magazines portray woman with flawless skin and not a wrinkle in sight has encouraged people to ask for similar retouching treatments for their own portraits.  So, I generally show proofs of both versions and find the re-touched images are by far the most popular.  And to be honest, if that makes them happy, it makes me happy too!  Why should models be the only ones to look like models!  They don’t look like that in real life either!  I like to use OnOne software plug-ins to supplement Photoshop re-touching techniques.  As "OnOne" states “Photographers use onOne plug-ins to speed up their photo editing workflow and give their photos the professional look with just a few clicks.”  I use PhotoTools 2.6 Professional Edition for portrait retouching. It gives you "over 300 professional-grade photographic effects, all wrapped up in an easy-to-use Photoshop plug-in.”
Below is an extreme re-touch! I used this as an example to demonstrate that even a five year old can be re-touched if you're looking for a special effect!!!
Here is a portrait with poor lighting

After extreme retouching!

Below is a link to OnOne Software
http://www.ononesoftware.com

Saturday, September 3, 2011

Having Fun with Pop Art in Photoshop


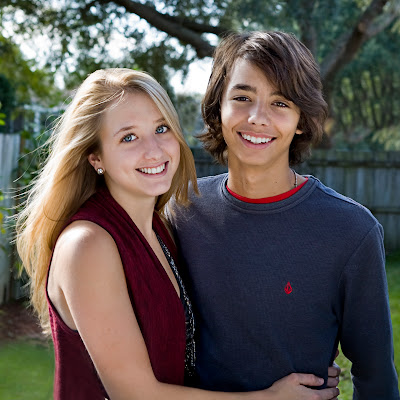
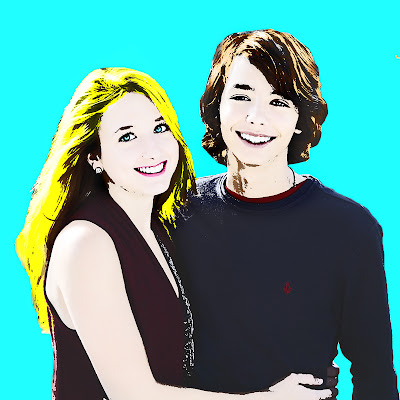
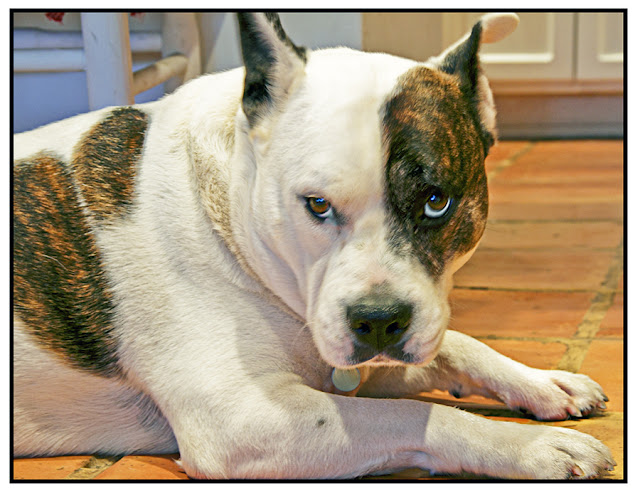
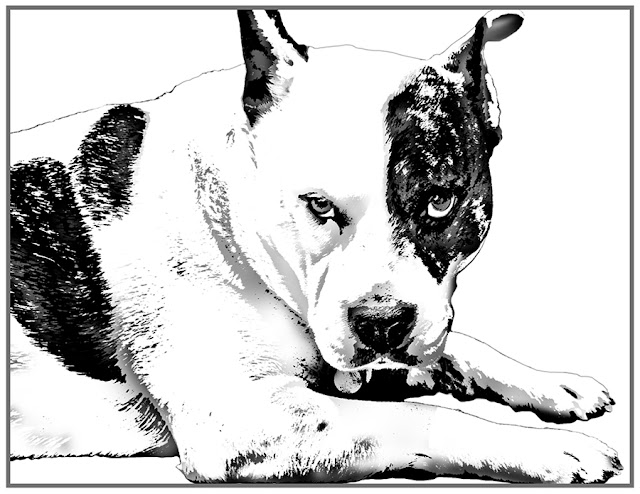
A lot of people have asked me "How do you create Pop Art Images in Photoshop?"  There are several different methods that I use to achieve this effect.  Ideally, it is best to first make a selection of your desired subject matter and then place that selection on it’s own layer, thereby removing any distracting background. Then create a white background layer beneath that subject selection and merge those two layers. Next, convert the image to Black & White and increase the contrast.  Then my preferred method is to  use the posterize adjustment layer and play with the sliders until I achieve the look I desire.  Finally, I use one of several methods to colorize the image. 

Below are some examples.

original image
final image


 original image obtained from the internet

final image


original image


posterized image with some additional adjustments made in Photoshop

colorized images

Friday, September 2, 2011

Creating a Photomontage in Photoshop


One of the many things I enjoy doing in Photoshop is blending photographic images together to create a digital montage.  Below is an example of one I made by blending four images together.  I placed each image on a separate layer in Photoshop and then played with the positioning of the images  and also the layer blending modes until I found a pleasing result. In this particular montage I used two different  photographs of interesting textures for the background, the image of the face and finally the butterfly image.  If this kind of art interests you I would suggest that you start photographing textures wherever you go!  I have a huge digital library of textures,  which includes walls, concretes, woods, metals, fabrics etc. The older and more distressed the surface the better!  Then I suggest you also photograph unusual objects or anything else that sparks your imagination that could be used in a montage!  Have fun and experiment!


Thursday, September 1, 2011

I love my HDR!


When I want to capture an image that has detail in both the shadows and highlights I get the best results when I create an HDR Image. HDR stands for High Dynamic Range.  To accomplish this I set my camera to Aperture Priority Mode and activate the auto exposure-bracketing feature. Now, when I press my camera’s shutter button it takes three photographs. The first capture is underexposed giving me details in the highlights, the second one is the correct exposure for the camera, and the last one is overexposed which gives me details in the shadows. (It is best to do this while using a tripod, but the images I posted below were all taken while I was hand holding my camera.) Next, I import those three images into a tone-mapping program called Photomatix Pro.  In Photomatix those three images are merged and tone mapped creating the HDR image.  Then, with a few adjustments in Photomatix and Photoshop one can decide if you want to create a realistic HDR effect or a more saturated, obviously, manipulated HDR image that you may have seen elsewhere.

Below are six images I created in May of this year while visiting friends in England