When I want to capture an image that has detail in both the
shadows and highlights I get the best results when I create an HDR Image. HDR
stands for High Dynamic Range. To accomplish this I set my camera to Aperture Priority Mode and activate the auto exposure-bracketing feature. Now, when I press my camera’s shutter button it takes three photographs. The first capture is underexposed giving me details in the highlights, the second one is
the correct exposure for the camera,
and the last one is overexposed which
gives me details in the shadows. (It is best to do this while using a tripod, but the images I posted below were all taken while I was hand holding my camera.) Next, I import those three images into a tone-mapping
program called Photomatix Pro. In Photomatix those three images are
merged and tone mapped creating the HDR image. Then, with a few adjustments in Photomatix and Photoshop one can decide if you want to create a realistic HDR effect or a more
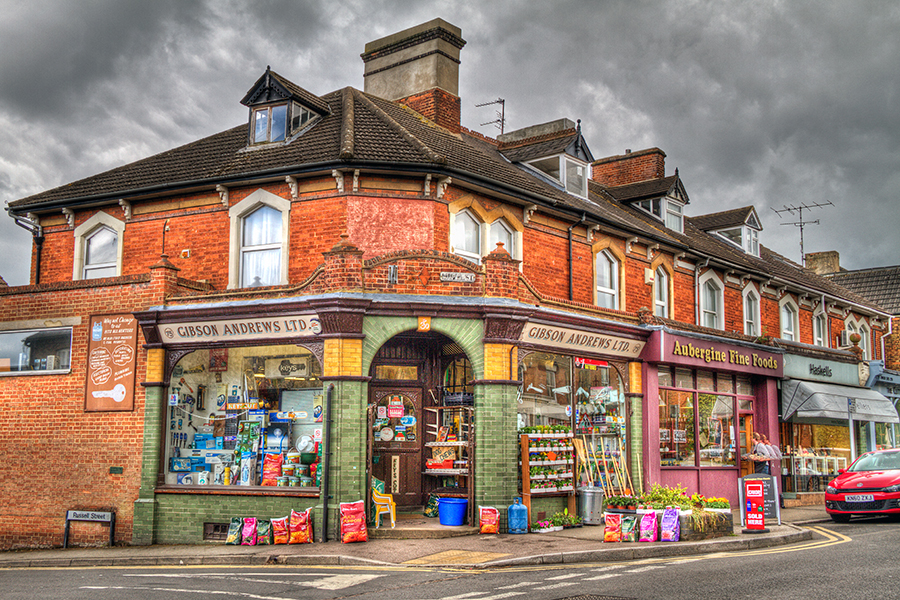
saturated, obviously, manipulated HDR image that you may have seen elsewhere.
Below are six images I created in May of this year while visiting friends in England


Awesome pictures! I can't even pick a favorite . . . as they are all soooo good!
ReplyDelete